For most gardeners, midsummer is the busiest time. Indeed, during this period it is necessary not only to care for the plants, but also to process the harvested crop in a timely manner. And in the endless string of gardening and culinary chores, it’s so easy to miss something important. In the hustle and bustle of things, have you forgotten to prepare juicy, aromatic dill for the winter?
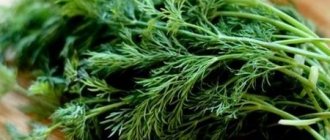
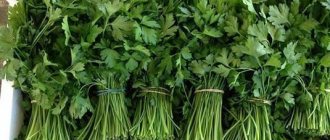
Dill grown in summer contains a maximum of vitamins and microelements
If you haven’t prepared it yet, then it’s time to start. Very soon he will produce luxurious umbrellas on thick stems, and not a trace will remain of the emerald carved greenery. Let's figure out together how to preserve dill correctly and not spend a lot of time and effort on this process.
Preparation of dill and necessary ingredients, containers, lids
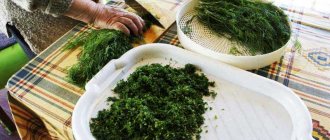
It is advisable to start harvesting dill for the winter before it reaches the stage of technical ripeness. Juicy greens without thickened petioles and stems are the best raw materials for canning, drying and freezing. However, do not rush to be upset, if the dill has already gone to waste, it can still be saved. Just pull the leaves off the stems and use them all separately.
On a note! Cut the dill stems into 5-6 cm long pieces. Fold them carefully, wrap them in food foil and freeze. You'll need it when it's time to can tomatoes and cucumbers.
Like all other garden herbs and vegetables, dill requires preliminary preparation:
- Sort through the leaves, discard any yellowed and spoiled ones, and then wash them thoroughly.
- Place clean greens on a kitchen towel to absorb excess moisture. Skip this step if you plan to make the marinade or store the dill in a container of water.
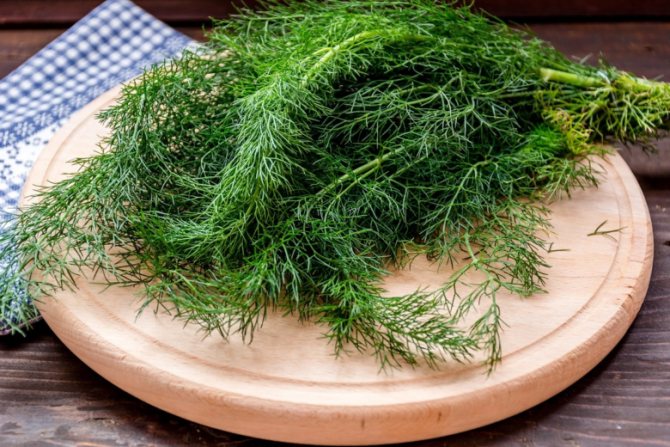
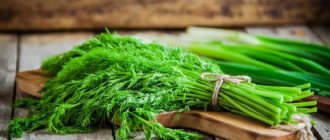
For storage, it is best to use young, juicy dill.
Use tightly sealed containers or glass jars for storage. Banks can be any:
- screw thread:
- under a standard cover.
The main thing is to remember to wash and sterilize them first. If you prefer to use nylon lids, choose those designed for preservation.
Methods for preparing dill for future use at home
There are several ways to prepare dill for the winter.
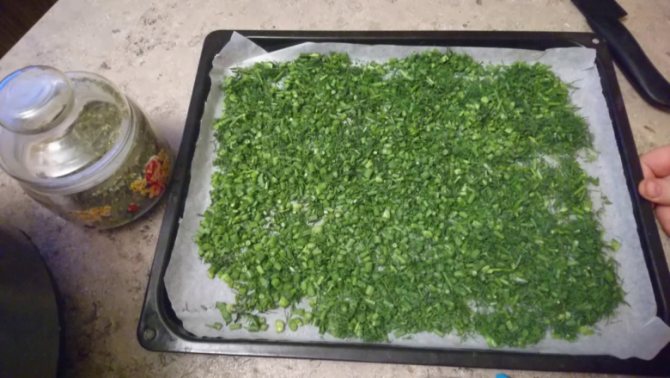
Drying
Drying dill is quite easy. To do this you need:
- wash the greens;
- finely chop;
- spread on a baking sheet in a thin layer;
- put in a dry, dark place.
After 2-3 days the greens will be ready for use. You just need to pour it into a dry, clean container and cover with a lid.
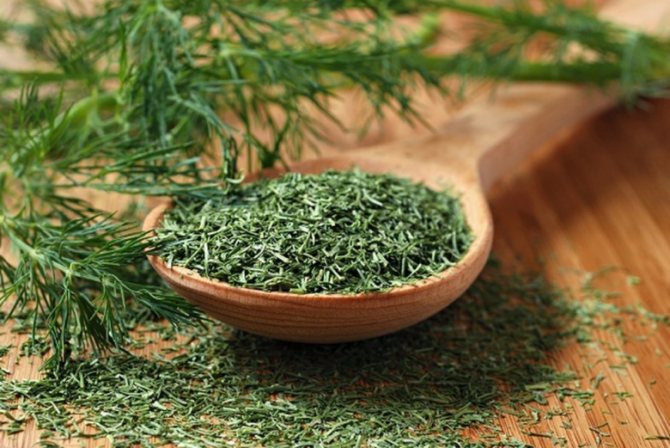
Drying is the easiest way to store dill
Those who have had to prepare dill in this way know that during the drying process it changes its color and acquires a specific aroma. Bright emerald Christmas tree leaves become dark and less appetizing. Do you want to preserve the aroma, beneficial vitamins and color of dill? Then try drying it in the microwave. In just a few minutes you can prepare a whole package of aromatic seasoning:
- Wash the dill, dry it, be sure to remove large fragments (stems and thickened petioles).
- Chop the prepared greens with a knife. There is no need to chop very hard, the main thing is not to get too large branches.
- Line a microwave plate with a napkin. Add a 2 cm thick layer of greens and cover with another napkin on top.
- Set the microwave power to 800 W. Time - 5 minutes. Dry the herbs in several stages. Open the door periodically to make sure the center doesn't burn. Stir if necessary.
Note! The time required to completely dry the greens depends on the features of the microwave and may differ slightly from the specified time.
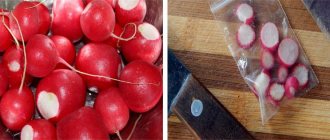
Freezing
Freezing greens allows you to preserve the maximum amount of vitamins and microelements in them. With this method, the dill remains as fresh, and the leaves do not change color and completely retain their aroma and nutritional properties.
Before putting the dill in the freezer, it:
- wash thoroughly;
- remove spoiled fragments;
- blot with a towel, removing excess moisture;
- finely chop with a knife;
- Place on a baking sheet lined with plain paper.
After all the above manipulations, the baking sheet is placed in the freezer for 1–2 hours.
When dill is frozen, almost all vitamins are preserved in it.
Frozen dill leaves are packaged in portions into small ziplock bags or poured into one container. Both methods are good. Pre-frozen dill, which is stored in bulk in a container, does not caking or stick together even after being in the freezer for a long time.
Some housewives prefer to freeze greens in portions in ice trays. To do this, the dill is crushed with a blender or passed through a meat grinder and the crushed mixture is placed in special containers. After freezing, the cubes are removed from the molds and poured into a bag or container.
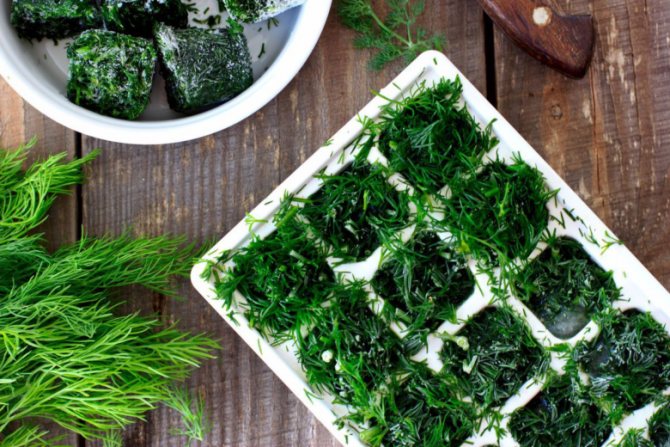
Freezing dill in ice cube trays is very convenient.
If you don’t like the appearance of greens passed through a meat grinder, then you can use an alternative method and chop them with a knife. However, in this case you will need to add a little water, otherwise you will not be able to freeze the leaves into cubes.
Life hack: such ice cubes can be used not only as an ingredient for culinary dishes, but also as a component for cosmetic masks.
Pickling
Another time-tested way to keep dill fresh for the winter is pickling.
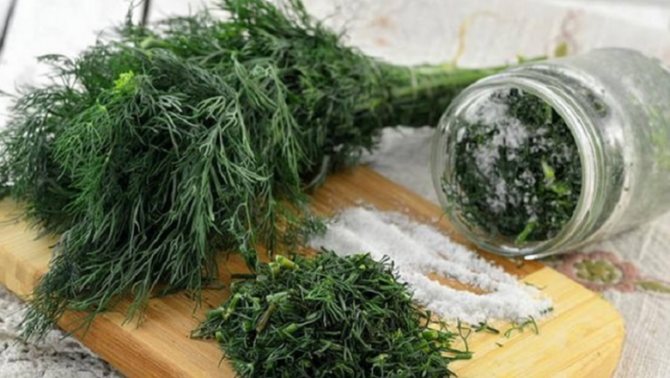
Pickling dill - quick and tasty
- Washed and dried leaves are mixed with rock salt in a proportional ratio of 1:5 (200 g of salt per 1 kg of greens).
- Place in dry, sterilized jars and seal tightly.
- Store in a refrigerator.
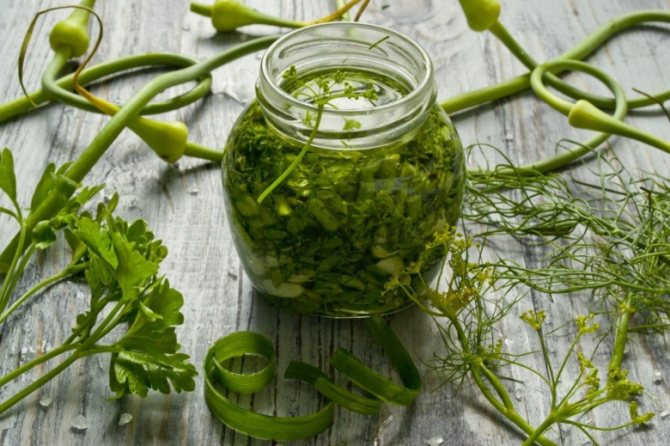
Pickling
To preserve greens in this way, you will need to not only chop the washed greens, but also prepare a marinade. It's not difficult at all.
Ingredients for marinade:
- water – 0.5 l;
- granulated sugar – 1 tbsp. l.;
- salt – 2.5 tbsp. l.;
- vinegar 6% – 150 g.
Pickling dill is very simple.
Tip: to enhance the taste, add any spices and spices to the marinade. However, this does not mean at all that you need to pour in absolutely everything that is at hand. 2-3 components are enough.
- Add the listed ingredients to boiling water and “boil” for 5-7 minutes. Can be pickled.
- Place prepared (washed and chopped) dill (800 g) in a prepared container and pour in the marinade.
- Place a kitchen towel folded in several layers at the bottom of the pan, and jars on top of it.
- Fill the pan with water up to the necks of the jars. Sterilization duration is 20 minutes (start counting time after the liquid boils).
- Seal the pickled dill with screw caps or roll up.
- Wrap up for 24 hours. After a day, transfer to the cellar or refrigerator.
In oil
Chopped fresh dill is stored well in any vegetable oil. The ratio of the main components is 1:1 (per 100 g of dill 100 g of oil).
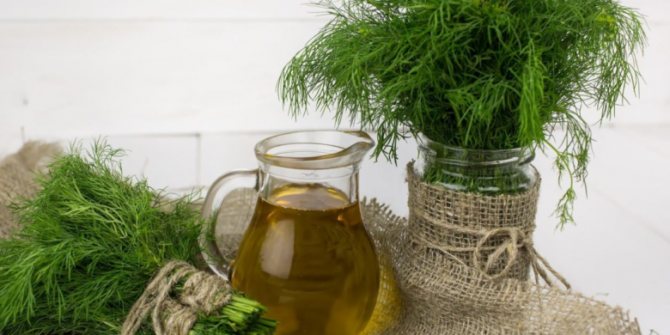
Fresh dill is perfectly stored in vegetable oil
Storing dill in the refrigerator
After the invention of refrigerated cabinets and freezers, all the difficulties associated with preserving perishable foods at home disappeared. The only drawback of kitchen helpers is the intense evaporation of moisture from food. To prevent such unpleasant consequences, be sure to place all herbs and vegetables in food containers, jars or bags before putting them in the refrigerator.
In a container with water
Of course, under no circumstances should dill be stored completely immersed in water. After all, this culture belongs to herbaceous plants, and not to algae. Liquid is needed only at the initial stage to replenish the moisture deficit and increase leaf turgor.
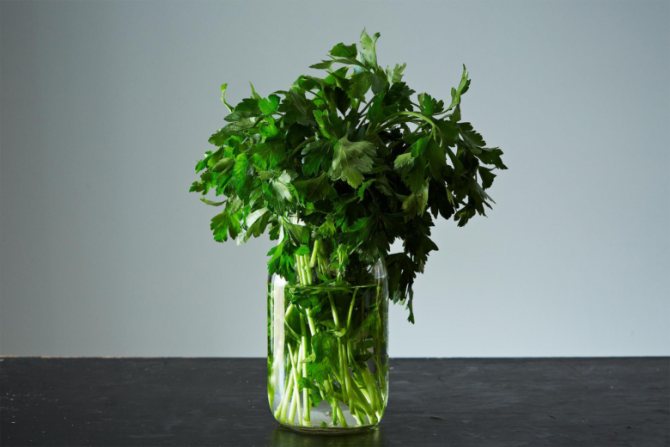
You can store absolutely any greens in a container with water.
Procedure:
- Wash the dill thoroughly and mercilessly throw away all spoiled fragments.
- Place in a container. Fill with plain clean water and put in the refrigerator for 3-4 hours. During this period, the dill will absorb the required amount of moisture.
- After this time, drain the liquid, carefully shake off the leaves and place them in a container. Close the lid tightly and place it back in the refrigerator for storage.
- In this form, dill can be stored for up to 2 weeks.
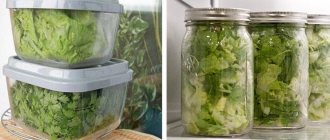
In a glass jar or bag
This method is not much different from the previous one (in a plastic container with water). The essence remains the same. Before storing greens, you should definitely:
- wash;
- sort through;
- saturate with moisture (to do this, immerse in a container with plain water for several hours);
- transfer to a jar and put in the refrigerator.
Note! To increase the shelf life, you can pour a little water (4–5 cm) into the bottom of the jar. In this case, the tips of the branches will be constantly recharged with moisture.
Cover the jar of dill with a bag, this will prevent moisture evaporation
In order to keep dill fresh in the refrigerator for the winter, it is not at all necessary to use a jar with a lid; any container will do. It can be an ordinary glass or plastic glass or even a cup. In this case, all preparatory manipulations remain unchanged (washing, reassembling and replenishing moisture deficiency). Having finished with the preliminary stage, you will need:
- fill the glass with clean water;
- put a dill bouquet in it;
- place the entire dill composition in the bag. This is necessary to prevent rapid fading;
- put in the refrigerator.
In a paper towel or foil
Food foil is an excellent material not only for baking food, but also for storing dill in the refrigerator. Dense, absolutely impermeable to air, it copes with the task perfectly. Products wrapped in foil:
- do not wither;
- do not weather;
- are not saturated with foreign aromas.
As in previous versions, dill first:
- wash;
- sort through;
- place in cold water for 2–3 hours;
- remove from the liquid and shake off.
- After this, the greens are wrapped, first in a damp kitchen napkin or towel, and then in foil.
Shelf life
The period during which juicy green dill leaves remain fresh in the refrigerator depends not only on the method of its storage.
Of no small importance are:
- plant variety;
- growing method.
Greens collected from garden beds are stored much longer than those grown indoors. This remark is especially relevant for herbs cultivated hydroponically. And if, shortly before harvesting, greenhouse dill was fed with nitrogen-containing preparations, then its shelf life, compared to street dill, is halved.
This feature should definitely be taken into account before buying greens in markets/stores. After all, fresh greenhouse dill is often much more beautiful than its garden counterpart. On average, high-quality fresh herbs can be easily stored in the refrigerator for 2 weeks.
How to store fresh dill
Fresh herbs in any dish look pleasant and joyful, reminiscent of sunny summer days with their taste and aroma. In addition, this way it retains all its beneficial properties. To keep dill fresh at home longer, you can use several methods.
- A fragrant green bouquet will feel great for 2-3 days, standing in a jar of water at room temperature. To extend its life by 3-4 days, you can cover the greens with a plastic bag and put them on the bottom shelf of the refrigerator.
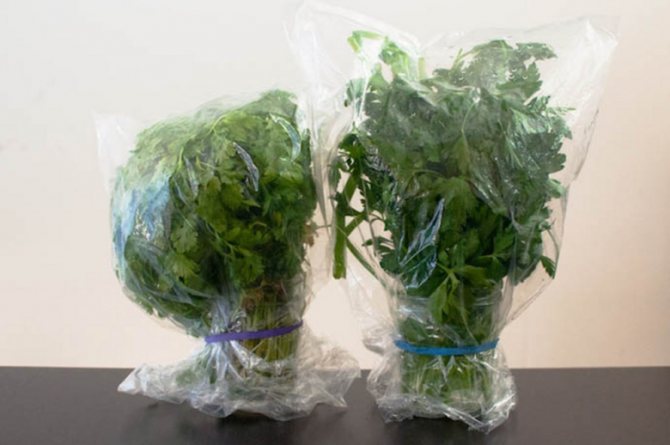
- Packed in plastic film, a perforated bag, or in a special plastic container, dill can stay in the refrigerator for about a week without loss.
- Dill can be stored in the refrigerator for about a month if you put the bunch in a plastic bag, place the onion cut into four parts and tie it tightly. Do not wash the greens before packaging and ventilate them after five days, at the same time replacing the onions with fresh ones.
- Dill can be stored even longer, up to two months, in the refrigerator if it is pre-washed and dried, finely chopped and placed in dry glass jars under plastic lids.
Dill recipes
Dill is an indispensable seasoning for hot dishes of meat and poultry; dill sauce will exquisitely complement the side dish for the main course, and emerald oil will accompany the usual morning toast.
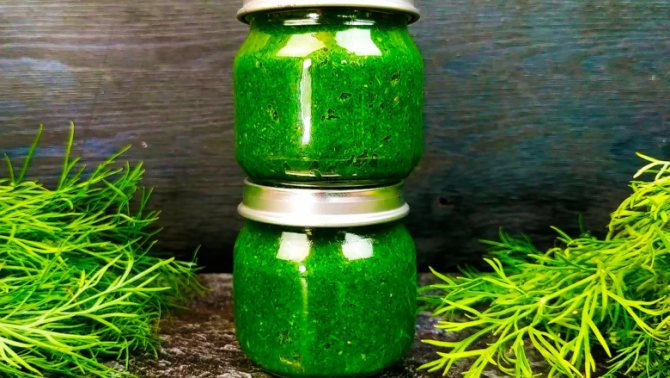
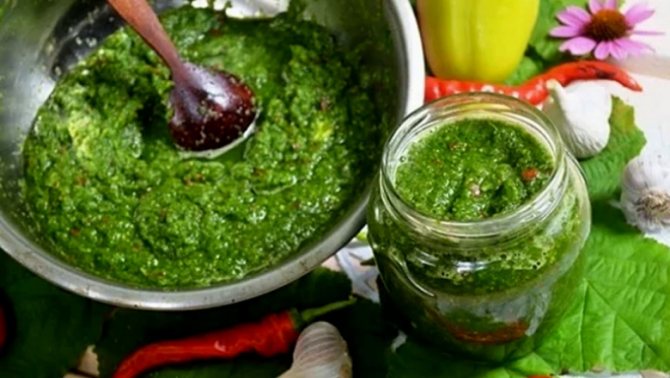
Oil seasoning with garlic
This is perhaps the simplest and most delicious sauce that can be made from dill. A huge advantage of this recipe is that it is universal. You can use not only dill for it, but also additional herbs. It all depends on your gastronomic preferences.
Garlic and dill sauce is a great way to preserve the taste and aroma of fresh herbs.
Required Ingredients
- vegetable oil – 150 ml;
- fresh dill – 150 g;
- garlic – 20 g;
- salt – ½ tsp;
- sugar – ½ tsp;
- lemon juice – 1 tsp.
Procedure:
- Blend dill + garlic in a blender until smooth.
- Add salt, sugar, lemon juice and mix well.
- Pour vegetable oil into the prepared mixture.
- Place the prepared dill into jars for the winter and seal tightly.
Storing dill for the winter, harvested for future use, using this technology is carried out at a temperature of 2-4°C.
On a note! To prepare all dill sauces and appetizers, you can use garlic cloves instead of garlic cloves.
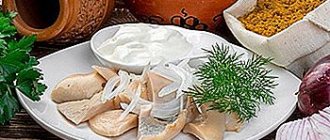
Dill sauce with mustard
For the sauce, it is preferable to use Dijon mustard. Compared to its well-known Russian counterpart, this mustard is absolutely not hot. It is characterized by a delicate, soft taste interspersed with subtle sweet and sour notes. This allows you not to overwhelm, but only emphasize the taste and aroma of dill.
Dill seasoning goes best with Dijon mustard.
For the same reason, instead of regular apple or grape vinegar, it is advisable to use light balsamic. If, due to certain circumstances, both Dijon mustard and balsamic are unacceptable to you, feel free to take Russian mustard and apple/grape vinegar. Such a replacement will, of course, affect the taste, but this does not mean at all that the finished product will be worse than the original.
Required ingredients:
- lemon – 120 g;
- mustard – 3 tbsp. l.;
- fresh dill – 100 g;
- light balsamic vinegar – 2 tbsp. l.;
- vegetable oil – 100 ml;
- garlic – 2 cloves (optional);
- salt – 1 tsp. (with a small slide).
Procedure:
- Prepare the greens. Try to ensure that there is no water left on the leaves at all.
- Carefully remove the zest from the lemon. Then cut the citrus fruit into 2 parts and squeeze the juice out of it.
- Grind the dill + garlic in a blender to a smooth paste or pass them through a meat grinder.
- Mix chopped dill, garlic, lemon juice, zest, salt and Dijon mustard.
- Add oil and balsamic vinegar.
- Place in clean, dry, sterilized jars, seal and store in the refrigerator.
Note! Despite the presence of preservatives (salt and vinegar) in the recipe, the shelf life of this seasoning is from 1 to 2 months. If you want to stock it for the winter, pack it in plastic containers with an airtight lid and put it in the freezer. In this state, dill sauce with mustard can be stored without loss of taste and nutritional qualities until the next harvest.
Emerald oil with herbs
Butter with the addition of summer greens has an equally pronounced taste and aroma. Don’t be lazy to prepare this preparation with dill for the winter at home. Surely your whole family will like it.
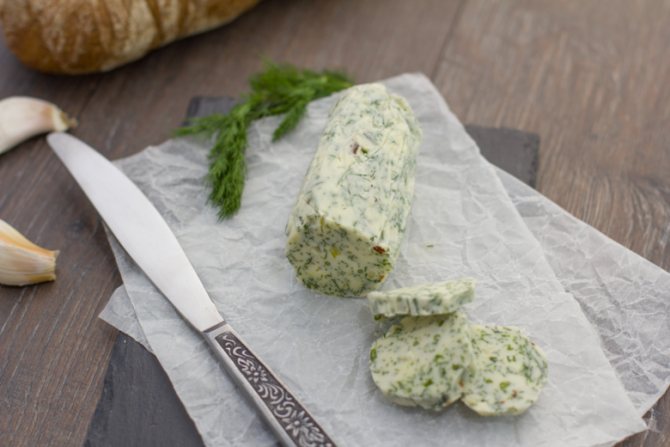
Butter with dill: tasty, nutritious, healthy
Required ingredients:
- fresh dill – 80 g;
- garlic – 20 g;
- pepper mixture – ¼ tsp;
- salt – ½ tsp;
- butter – 200 g.
How to make dill oil from fresh dill:
- Wash a bunch of dill, dry thoroughly and finely chop with a knife.
- Pass the garlic through a press.
- Add salt, pepper, chopped herbs + garlic to softened butter. Mix well.
- Transfer the resulting mass to cling film and wrap tightly, forming a small “sausage”.
- Put it in the freezer.
Thanks to the presence of dill and garlic, emerald oil has a fairly rich, specific aroma. To prevent this aroma from being absorbed into nearby food during storage, be sure to wrap it in food foil or put it in a container.
Life hack: it is not at all necessary to prepare such a snack from butter. As an alternative to the main ingredient, lard, previously passed through a meat grinder with a fine grid, is suitable.
How to preserve dill for the winter
In order to preserve fragrant herbs at home throughout the winter, it can be dried or frozen.
- Dried dill is completely undemanding to storage conditions. It could even be room temperature. The main thing is to protect it from too high humidity by placing it in sealed containers, preferably glass. To dry dill: you should first rinse it thoroughly, correctly do this in a container with water, in which the bunch should be rinsed thoroughly;
- then chop finely and spread in a thin layer on a large dish or baking sheet;
- place in a scattered form in the shade and, with good ventilation (preferably in the fresh air), leave there until ready.
Product Matrix: Dill