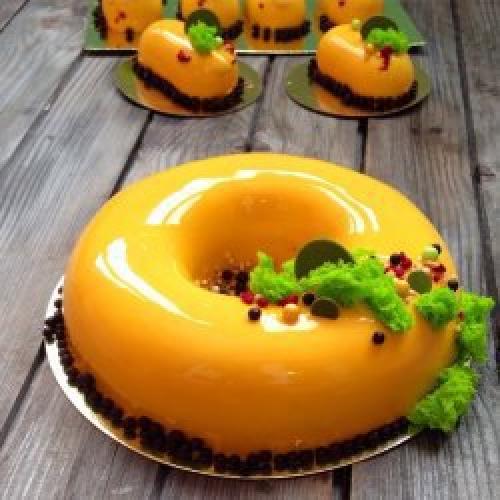
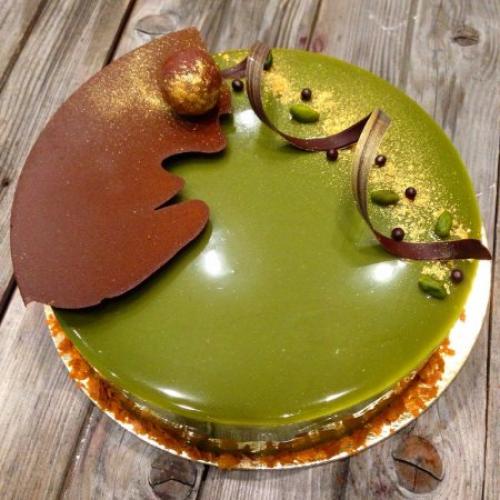
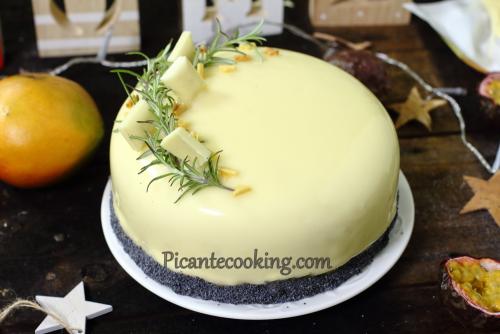
Mirror glaze. Secrets of mirror glaze (two recipes).
This glaze recipe has become universal for most confectioners on the planet.
I think many of you are familiar with him. It has many advantages and several disadvantages. But the most important thing is that you can easily prepare and use it in your kitchen and you will succeed!
Ingredients: - 300 g glucose. - 300 g sugar. - 150 g of water. - 200 g of condensed milk. - 300 g of chocolate (white, milk or black). - 20 g gelatin.
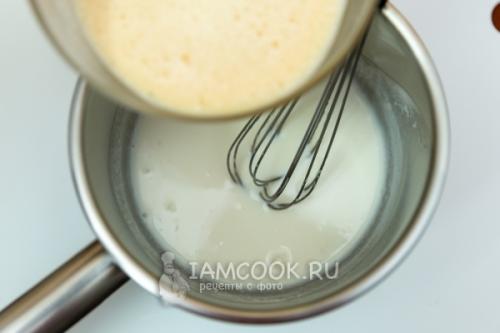
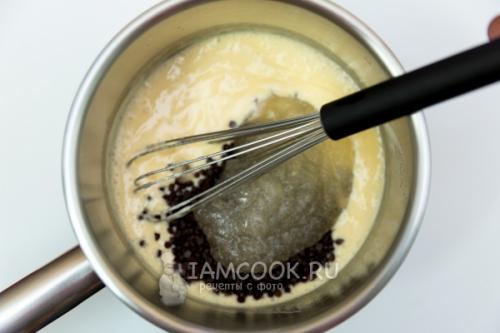
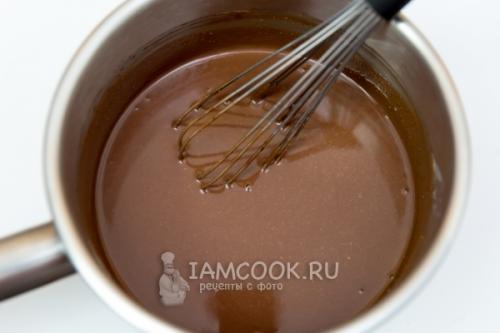
Method of preparation: Soak gelatin in cold water. Bring sugar, glucose, water to a boil and then pour over condensed milk, chocolate and squeezed soaked gelatin. Add dye. Beat with a hand mixer. Leave the glaze in the refrigerator overnight. Reheat and use at 35°C.
Advantages of the recipe: - Appearance, amazing gloss. — The cake with frosting can be frozen. — The glaze is easily painted with water-soluble paints. - Prepared from simple ingredients. — Applicable to all types of frozen cakes.
Disadvantages of the recipe: - The icing is very sweet and can drag on the knife when cutting - the cake should be cut when it is still very cold, with a warm knife. — It is very difficult to photograph the cake with a camera (it is reflected in it, since the glaze is really mirror-like.
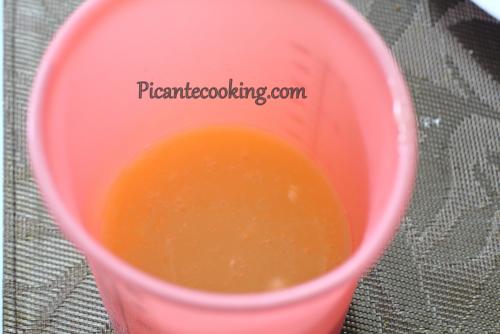
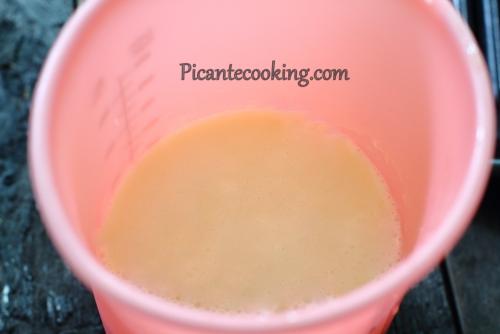
Difficulties in preparing glaze: The main difficulty is the appearance of bubbles on the surface. How to deal with them? When you have poured a hot mixture of water, sugar and glucose onto chocolate, condensed milk and gelatin, you need to punch all the ingredients with a blender at an angle to create a wave that draws bubbles - a stripe. Make sure that the blender does not create foam. Then cover the glaze with film. Refrigerate overnight. When the glaze has set, remove the film. Attention! Only if there were a lot of bubbles, remove the top foam. Warm the glaze to 35°C. The glaze can now be punched again. You will feel that now its tendency to generate foam is much lower than when it was completely fresh. At the same time, watch the tilt - avoid bubbles!
If the glaze is very thick at 35°C, then add 1:1 syrup. Next time you prepare the glaze, remove it from the heat at the moment of boiling.
Ideal surface. In order for the glaze to be distributed evenly, it must be applied to a completely flat surface. This surface is obtained by freezing.
If you are assembling a cake in a ring, then place a cake ring tape along its sides. After freezing, the ring will be easily removed from the mold thanks to this tape. When you remove it from a well-frozen cake, the sides will be mirror-like. Run a warm wrist over the sharp top edge of the cake - it will look softer, without sharp edges, and the frosting will flow easier.
Condensation is something to avoid. If there was condensation on the surface of the cake when applying the icing, the icing is likely to wrinkle by the next morning in the refrigerator. Everything will remain stable in the freezer.
Before you take the cake out of the refrigerator, prepare your work area: - Frosting in a container at the desired temperature - 35-38° C. — Spatula with a neck to remove excess glaze. — A lattice that stands in a container where excess glaze will drain.
Coloring the glaze. Our recipe contains water - water-soluble paint has something to dissolve in. That’s why we mainly use water-soluble paints for painting. For a pearlescent effect, I add gold powder to the glaze. For the same recipe, more expensive fat-soluble dyes are sometimes used; it happens that they give particularly bright shades. White is a special dye that dissolves in both chocolate and water. I made the lavender colored icing by mixing white, pink and blue.
Another recipe for cream glaze: 24 g gelatin. 720 g cream 35%. 860 g sugar. 360 g of water. 48 g cornstarch.
Cream. Place the sugar in a medium saucepan and heat over medium heat until it dissolves and turns an amber color. Deglaze deglaze the caramel with hot cream. In a separate bowl, combine water and cornstarch. pour the starch into the caramel and bring to a boil. remove from heat. pre-soaked gelatin, cool. Use use at 32°C. Bon appetit!
Mousse cake recipe. Chocolate mousse cake
The mousse cake, the recipe for which I want to share, is quite simple to prepare. Delicious, tender, aromatic, with an expressive chocolate taste! It is very light, after eating a piece there is no feeling of heaviness. Bake this cake and your guests will thank you!
In total, it took me an hour to prepare it. And the refrigerator will do the rest for you. 
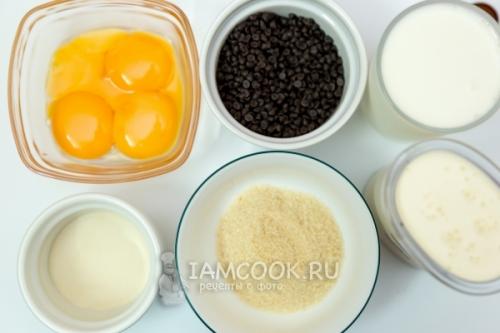
To prepare the mousse cake, prepare the ingredients according to the list.
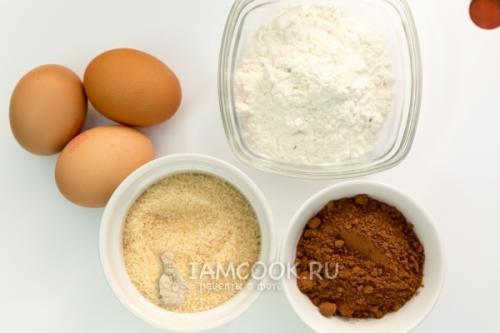
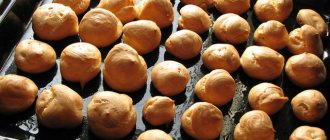
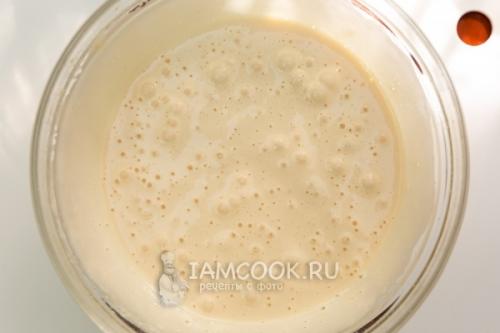
First, let's prepare the biscuit dough. To do this, beat the eggs with sugar into a fluffy cream. Beat for about 5-7 minutes.
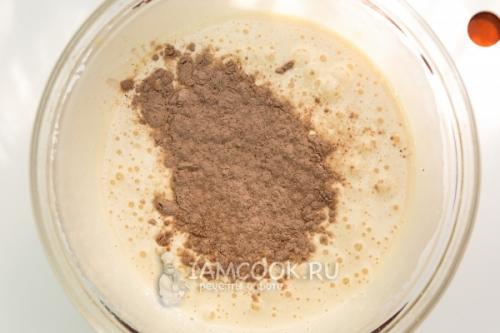
In a separate bowl, mix cocoa and flour. Next we do this: add 3-4 tablespoons of the mixture to the eggs beaten with sugar, mix well with a whisk. We’re not playing too hard, but we’re not being gentle either. Next, add the remaining mixture in 2-3 additions, stirring the dough from bottom to top. I also do this with a whisk.
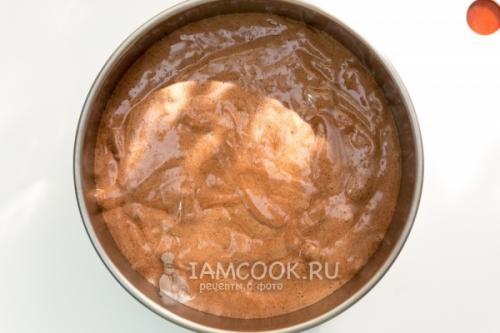
Pour the resulting dough into a mold (18 cm). I'll tell you how I bake biscuits. This particular form has a removable bottom. That is, the bottom can be removed, but the ring itself is not detachable. I do not grease this form with anything and do not line it with parchment. If you are not sure of your shape, then it is better to cover it with parchment. We do not lubricate the walls of the mold with anything!!! The biscuit “climbs and clings along them, rising up.”
Bake the biscuit in an oven preheated to 180 degrees for 30-40 minutes. Find your way around your oven! Checking for a dry splinter is mandatory!
PS Do you see a light spot on the dough? It's just light from the window.
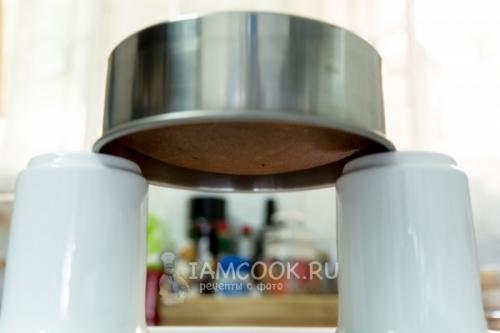
As soon as you take the biscuit out of the oven, turn the pan over onto glasses (mugs, cups, bowls, bowls...), as shown in the photo. This way the biscuit will definitely not fall off. Let it cool completely like this!
In fact, if the biscuit is baked well, the sponge is dry, and its surface springs when pressed with your hand, then there is no need to turn it over. Just let it cool slightly in the pan, then remove and cool completely on a wire rack.
I didn’t let this biscuit rest. I just cooled it completely and cut it right away.
While the biscuit is cooling, prepare the mousse. Let's prepare the products according to the list.
PS We will only need yolks; you can freeze the whites by placing them in a plastic container, and then, when necessary, defrost them and use them for their intended purpose.
Pour gelatin with water (room temperature), stir, set aside. It should swell. Read the instructions on the packaging!
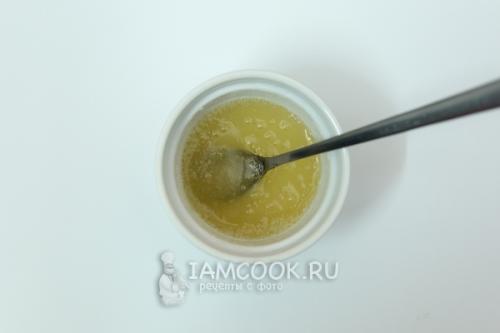
Grind the yolks with 20 gr. sugar (we will take it from the total amount indicated in the ingredients).
Mix the second half of the sugar with milk and put on gas. Bring almost to a boil (but do not boil!) so that the sugar dissolves.
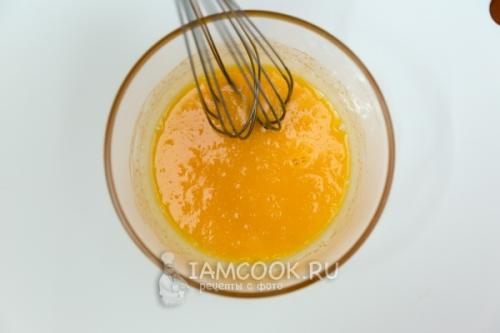
Pour most of the milk and sugar in a thin stream into the yolks ground with sugar, stirring well with a whisk. This is how the mixture will turn out.
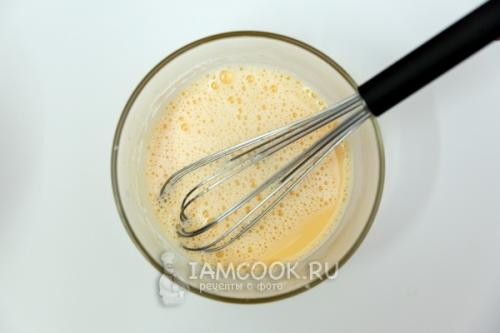
Next, return the resulting milk-egg mixture back to the bowl with milk, put it on gas and, stirring constantly, bring the mixture to a slight thickening. Be careful not to overheat, otherwise the yolks will curdle! If you have a thermometer, then the temperature of the mixture should be about 83 degrees.
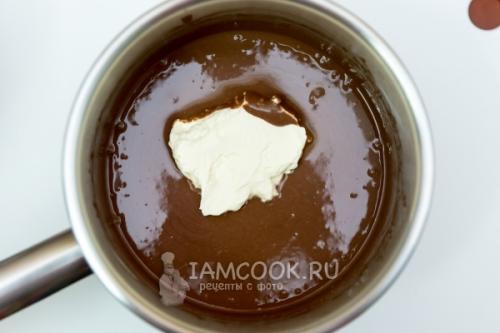
Remove the mixture from the stove and let it cool for just a minute, stirring constantly. Then add chocolate and gelatin, which has already swelled. Mix well. The temperature of the egg-yolk mixture is sufficient for the gelatin to dissolve and the chocolate to dissolve.
This is how the mixture will turn out. Cool it to room temperature, stirring constantly with a whisk to prevent a crust from forming.
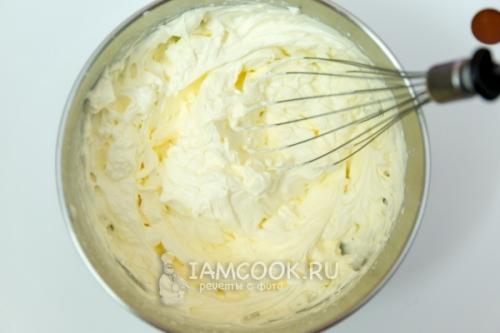
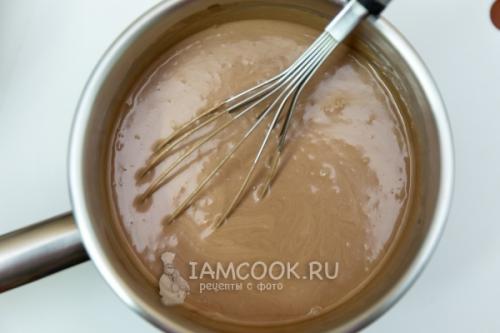
Have you cooled the mixture? Whip the cream to soft peaks. Don't overbeat or you'll end up with butter!!!
Add a couple of tablespoons of whipped cream to the gelatin mixture, which has cooled to room temperature, and mix quite vigorously with a whisk. Then add the remaining whipped cream in several additions.
We get this lush mixture.
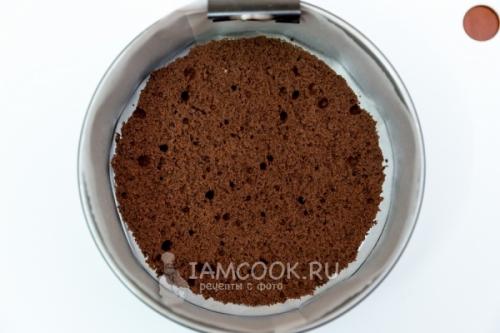
Cut the biscuit into two parts. We cut off one part of the biscuit - the bottom - slightly reducing it in diameter (so that it is less than 18 cm - the diameter of the mold). We don't need the top part of the biscuit. You can put it in a plastic bag and freeze it, and then, when needed, defrost it and make another cake.
By and large, you don’t have to cut the biscuit, but then the cut won’t be as “spectacular.”
We make sides from parchment and secure them, for example, with a clothespin or a paper clip. We do this so that the parchment does not “move out”. If you have cling film, use it, then after removing the film the sides will not look “crumpled”, which happened to me.
We spread the biscuit...
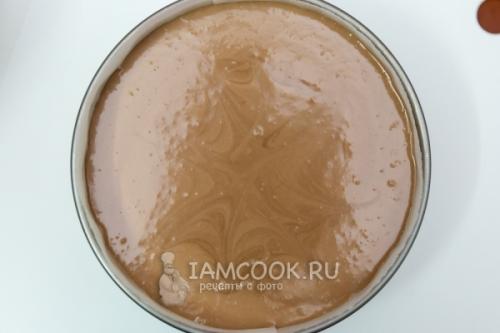
... and fill it with mousse. Place in the refrigerator for at least 4 hours. And even better - at night.
Anticipating questions like “And a biscuit popped up for me. Why???”, I will answer: “Nothing came up for me. I don’t know why this happened to you!”
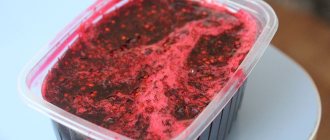
In the morning, I took the mousse cake out of the refrigerator, removed the parchment, sprinkled it with powdered sugar and decorated with fresh strawberries and mint leaves.
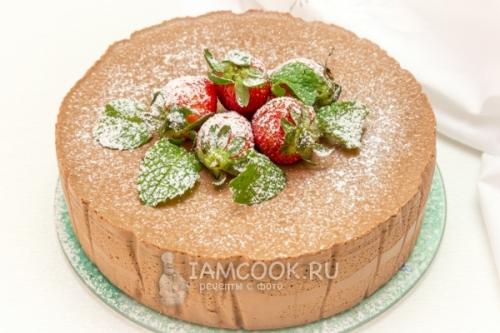
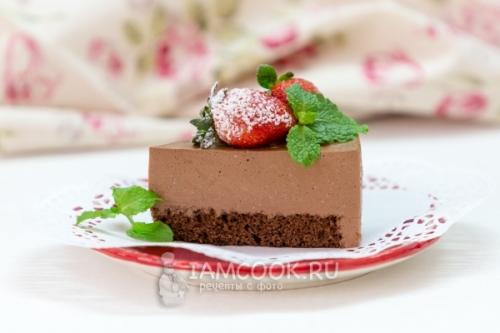
And here is a cross-section of the mousse cake. Enjoy your tea!
The simplest one from Adriano Zumbo
I used the recipe for this glaze . It's easy and quick to prepare. You can make more and store it in the refrigerator for a very long time - it contains no ingredients that can spoil under normal conditions. Outwardly it looks like a jellyfish spread out on the edge of the water =)))
This glaze is made with pectin. But even if you don’t have pure pectin, you can safely use mixtures for making preserves, jellies, confitures such as “Zhelfix”, “Zhelin”, “Jam”, “Quittin” and so on - they are sold in the most ordinary markets all year round, and in the composition you will see the same pectin.
10 grams of pectin NH 265 grams of sugar 250 grams of water 20 grams of glucose (invert syrup)
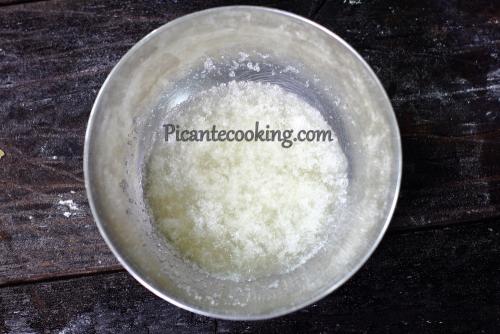
Mix pectin with 65 grams of sugar.
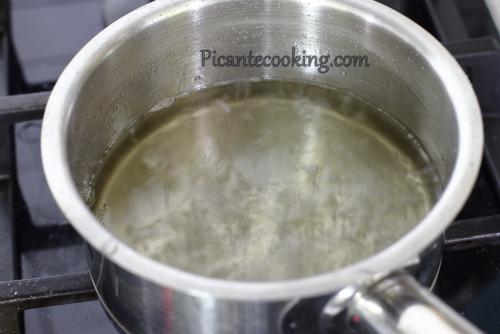
Mix the rest of the sugar with water and glucose. Heat to 60 degrees, stirring (at this temperature the sugar will dissolve), then add sugar mixed with pectin. Stir thoroughly, bring to a boil, boil for a couple of minutes, remove from heat, strain and store in the refrigerator.
Colored mirror glaze. Mirror glaze with invert syrup
- It is necessary to soak the gelatin in ice water. If you can’t find sheet gelatin, take regular powdered gelatin. But in this case, stick to exact proportions. Calculate 1:6 gelatin to water. This means that if there are 12 g of gelatin powder in a bag, then you need to take 72 g of water and put the container aside. The powder needs to swell for one hour.
- Chopped chocolate and condensed milk melted in a steam bath are added to the bowl of a submersible blender.
- In a separate iron bowl, mix water, sugar and glucose syrup in the amount indicated in the list of ingredients. Over low heat, you need to melt the mixture, but do not stir with a spoon, but only slightly move the metal container from side to side.
- The thermometer will tell you when to remove the mixture from the heat. When you see the 103 degree mark, you should remove the pan from the heat and set it aside. If you overcook the future glaze, it will thicken and nothing can be done with it, and if you don’t overcook it, it will drip. Gaps will appear on the surface.
- Add the squeezed gelatin (this is what creates the shine on the surface) and the syrup prepared on the stove into the blender bowl.
- Before blending all the prepared ingredients, you should check the operating temperature. It should be 85 degrees, pour everything into the mass and knead gently.
- Add a couple drops of food coloring and run the blender on low speed. Lightly beat all the ingredients into a single mass. Add more coloring if there is not enough. But remember that when frozen, the glaze looks brighter.
- With this method of preparing glaze, the blender should be held at an angle of 45 degrees. You only need to rotate the bowl. There shouldn't be a lot of bubbles while whipping.
- Leave the mixture in the bowl, covered with cling film. To obtain a glossy effect and stabilize the consistency, place the prepared mass in the refrigerator for 12 hours. Usually at night.
- If in the morning you press on the mass and it springs back, then you did everything right.
- During further preparation of the mirror glaze, you should melt it in the microwave and then beat it again with a blender before applying it to the cake. But you should carefully monitor the temperature. The operating temperature should be 30-35 degrees. It can be adjusted if necessary.
- The mixture must then be passed through a sieve to remove excess air bubbles and poured into a jug with a spout. The last step will make the process of confectionery decoration easier.
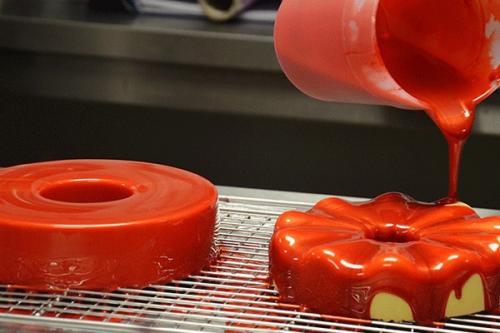
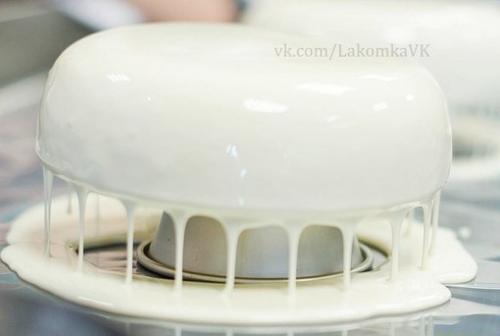
- Remove the cake from the freezer and immediately cover the dessert with the prepared frosting. Don't forget to monitor the temperature.
- If the colored mirror glaze sits for several minutes, condensation may form on its surface. This is the main reason why glossy glaze can run off.
- If there is any glaze left, you can store it under cling film in the refrigerator. Just warm it up before coating.
The most common mistakes
Before you cover the cake, you need to anticipate and avoid the most common mistakes.
A thin layer of glaze after application, as a result, the sides are visible:
- The syrup was cooked incorrectly, meaning it turned out liquid. Most likely, the temperature regime was not achieved taking into account the recommendations.
- Multicolored colored glaze must also have a certain temperature when applied to the cake. Most likely, this indicator was lower or higher than expected.
- This discrepancy with expectations could have occurred due to the gelatin being pressed incorrectly initially. Excess moisture can cause an unevenly distributed, smooth and runny coating.
- As a reminder, the cake must be thoroughly cooled or chilled before decorating.
The prepared glaze turned out to be too thick or came in lumps:
- You need to quickly remove the syrup during cooking when it reaches a temperature of 29-39 degrees. Then the covered cake will become tasty and beautiful.
- During application the operating temperature was below optimal. The glaze set ahead of time.
What actions need to be taken in case air bubbles for some reason form on the surface of the decor and freeze in this form:
- while mixing the workpiece, you worked too quickly and actively;
- using equipment - the blender should be held at an angle of 45 degrees and only the bowl should be rotated;
- a day after you store the mirror glaze in the refrigerator, the foam with bubbles must be carefully removed with a tablespoon;
- To cover cakes with your own hands, you should repeatedly pass the cakes through a sieve with small shakes.
Reasons why the mirror glaze became matte and deformed:
- glucose syrup and dessert should be removed directly from the refrigerator before application;
- Initially, before coating, you should wipe the dessert with a warm, dry palm.
Simple but invaluable tips:
- Silicone molds must be not just good, but of the highest quality.
- The cake should be removed from the cake very carefully.
- When freezing the cakes, the freezer compartment must be empty. Place the cake on a flat surface, such as a cutting board.
All the recommendations described above will help you create a beautiful and shiny glaze for dessert.
Mirror glaze recipe. Simple mirror glaze
1) Soak gelatin in 60 ml of water (take it from the amount indicated in the ingredients).
2) Place chocolate and condensed milk in a small container in which you can blend with an immersion blender.
3) Pour the remaining water into a thick-bottomed saucepan and add sugar and invert syrup. Bring to a boil and cook until the syrup temperature reaches 103°C.
4) Pour hot syrup into chocolate with condensed milk. Stir and add the swollen gelatin. Mix well and leave to cool for a few minutes.
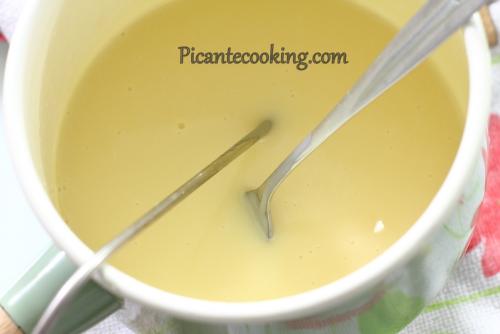
5) Beat the mirror glaze with an immersion blender. Blend for 2-3 minutes, keeping the blender completely submerged so that no foam forms on the surface. The glaze will immediately become more uniform.
At this stage, the glaze can be used by cooling to 32-35 ᵒC. This is its operating temperature. But it’s better to cool the glaze completely, put it in the refrigerator and use it the next day. And then warm it up, beat it again with a blender and, when it reaches operating temperature, use it. Then the glaze goes on smoother and covers the surface of the cake better.
Bon appetit!
Equipment required for cooking
To prepare the glaze, everything must be planned with great precision. Therefore, as inventory you will need:
- cooking thermometer;
- kitchen electronic scales;
- immersion blender with a high bowl.
A culinary thermometer that allows you to measure the required temperature. If the icing reads low on the thermometer, it will be difficult to distribute on the surface of the cake. Otherwise, too warm a glaze may spread and is unlikely to resemble mirror glass after hardening.
Interesting: How to Store Boiled Beans in Water
The same can be said about the accuracy in measuring the weight of each ingredient. You shouldn’t do everything by eye - this is the biggest mistake in making colored glaze.
And with the help of an immersion blender, you will be able to achieve the required consistency, which will then need to be used to coat the delicacy.
What to do if there is no glucose syrup
In this case, you can use honey instead of glucose syrup. The honey taste and aroma will only be an additional plus for your delicacy.
You need to take:
- water – 75 g;
- leaf gelatin – 12 g;
- condensed milk – 100 g;
- white chocolate, sugar, liquid natural honey - you should take 150 g of each ingredient;
- food coloring.
The recipe for making glass glaze with honey is similar to the basic one, which uses invert syrup. It is only important to follow one basic rule: honey must be liquid. And for this you need to melt it in a steam bath.
Alternatively, you can also make this syrup yourself. The result will be a white mirror glaze, and if you add dye, it will be colored.
Storage in the refrigerator, covered with cling film, is possible for up to 1 month.
Ingredients you will need:
- sugar – 350 g;
- hot water 155 ml;
- citric acid – 2/3 teaspoon;
- baking soda – 1.5 g.
Step by Step Actions
- Add sugar to hot water, stir the mixture well until the sugar dissolves. Then put it on the fire and keep it there until it boils.
- After the mixture boils, you need to add citric acid to it and let it simmer under the lid for another 20 minutes. Please note that the syrup should be light golden in color.
- Soda must be diluted with a dessert spoon of water. The presented mixture must be poured into the syrup. Something like an explosion will happen. Just wait and the homemade syrup will be ready when all the bubbles have subsided. The consistency will be very similar to honey.
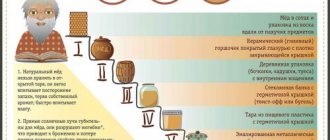
Invert syrup
What is invert syrup and what is it for... Do you know? If not, I’ll tell you and show you how to prepare it at home. In fact, this is a must-have product if you love to bake and prepare all kinds of desserts.
Let me get a little clever: invert syrup is obtained by heating an aqueous solution of granulated sugar with an acid, during which inversion occurs, which consists in the splitting of sucrose into components such as fructose and glucose. For inversion, it is customary to use acid (in this case, the simplest citric acid, which is found in every home).
The properties of invert syrup - anti-crystallization and moisture-binding - help extend the shelf life of finished products based on it without loss of quality. For example, sugar fudge, creams, glazes and other things prepared with the addition of invert syrup are not candied during long-term storage.
It is noteworthy that invert syrup can be an excellent alternative to corn and maple syrups, confectionery glucose and molasses. By the way, in appearance it can easily be confused with natural honey.
And let's add a couple of secrets at the end
- When cutting a cake with glossy icing, problems often arise. Sometimes the glaze can stick to the knife, what should I do about it? There is a solution and the recipe is very simple - you need to cool the dessert very much and heat the knife well. Then you shouldn't have any problems in the future.
- If you decide to let the cake harden in the mold, then you need to carefully remove it from there. To do this, use ring tape.
- A thick layer of glaze can also be leveled using a spatula.
Experienced chefs can prepare a delicious cake with mirror glaze, but many beginners can do it without any problems if they adhere to the operating temperature and all the nuances of the cooking technology.
The recipe for making glass glaze with honey is similar to the basic one, which uses invert syrup. It is only important to follow one basic rule: honey must be liquid. And for this you need to melt it in a steam bath.