Winter garlic is planted in the fall for the winter. Its advantages over spring varieties: early ripening and high yield. The main disadvantage is bolting, which can lead to shrinkage of the bulb. Therefore, owners of small home plots prefer to plant winter varieties for their own needs, where timely cutting of shoots is not a big problem. How should winter garlic be stored?
Optimal conditions
Winter garlic, compared to spring garlic, is more capricious in terms of storage time and conditions. The most optimal indicators for its storage are:
- humidity 70-80%
- air temperature +2 to +4°C.
If these conditions are not met, the vegetable will deteriorate: rot, sprout or wither.
In other words, winter garlic should be stored in a more humid and cooler place than spring garlic, which will be stored at a humidity of 50-70% and a temperature range from +16 to +20°C.
Winter varieties
Proven winter varieties include the following:
- Gulliver. Medium late variety. These are bulbs up to ¼ kg. Loose, well-drained soils are suitable for this variety. And if it is dense, then the yield decreases. This garlic is distinguished by its long-term storage.
- Lyubasha. This is a mid-late variety that forms a huge green mass. The scales of the bulb are slightly pink, its weight is up to 125 g. The variety is well stored and has a high yield.
- Losevsky. Mid-season variety, ripening for about 110 days. Garlic has a medium-hot taste and stores well.
- Podmoskovny. The variety has a strong pungency; the weight of the head can reach up to 60 g.
- Dobrynya. This is a late variety that lasts up to 6 months. Head weight up to 60 g.
We invite you to familiarize yourself with Construction of a decorative mini castle for the garden
Winter varieties have a sharp taste compared to summer varieties. But they are stored much better.
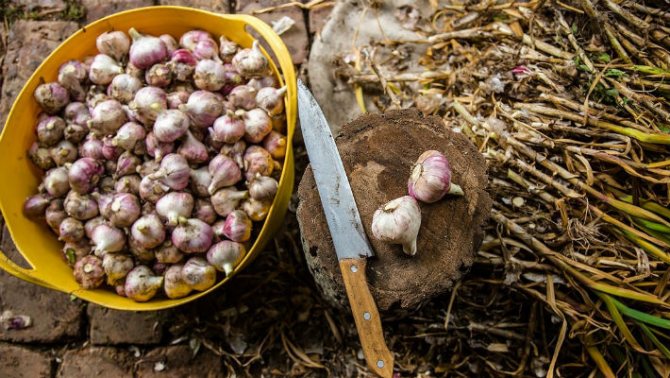
Harvesting
Proper preparation of garlic is important for its subsequent successful storage. First of all, it consists in timely harvesting. Overripe or underripe vegetables will not be stored for long. For winter varieties, harvesting usually occurs from the middle of July to the beginning of August. Spring varieties, as a rule, need to be harvested in the second half or at the end of August. The ripening of winter garlic and the need to collect it will be indicated by yellowed lower leaves, cracking inflorescence wrappers and dry, thinning scales covering the bulb.
Vegetables should be removed from the garden before:
- the covering upper scales will finally crack and fly off;
- the bulbs will disintegrate into individual cloves;
- New roots will appear at the bottom of the heads.
Harvesting must be done on warm and dry days. At the same time, garlic roots and heads should be protected from impacts and other damage. The soil from the bottom of the bulbs and roots should be carefully removed by hand. Deciduous tops and stems, like roots, should never be removed (trimmed) immediately. After all, through fresh cuts, some of the juice of the onion will be lost, which will increase the likelihood of infection.
Note! 3 weeks before harvesting, it is recommended to stop organized watering of garlic.
Planting: step-by-step instructions
When the ground warms up to +15°C, you can plant sprouted garlic - cloves with roots in the ground.
The work must be done on a sunny day, which will make it possible to additionally warm the soil in the furrows for planting:
- We make furrows 10 cm deep. The distance between the furrows should be 20-25 cm. Leave them open for 2-3 hours. During this time, the earth will warm up a few additional degrees.
- Afterwards, pour sand and ash into the recesses of the furrows in a layer of 1-2 cm. The ratio of sand and ash should be 9:1 - 9 parts sand and 1 part wood ash. Next, we begin planting.
- The planting depth is 2.5 times the height of the clove, or 6-7 cm. Between large cloves in a row, 20 cm is left. Between small cloves, the distance is smaller - 10-15 cm. Note: the planting depth of spring garlic is less than that of winter garlic. Its root system is not afraid of frost; it requires warmth for its development.
- The plantings are covered with earth. When the first shoots appear, mulch with straw. There is no rot or pathogens in such mulch. At the same time, it protects the upper layers of the soil from drying out, retains moisture, and releases it to the plants as the soil dries out.
Interesting: Why saffron milk caps turn blue when pickled
Note: the soil for garlic should be damp. This creates the best conditions for the formation of plant roots and bulb growth.
After planting, we wait for the emergence of seedlings and cultivate the plants in the traditional way - water, fertilize, maintain a layer of mulch, and, if necessary, loosen.
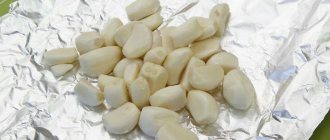
To “imitate” winter, garlic cloves are given a special cold “stratification” or aging in the refrigerator. It is important that the prongs are not simply stored on the bottom shelf of a refrigerator or on an unheated porch. They should be kept cold in a damp substrate - sand, sawdust, or wrapped in a wet cloth.
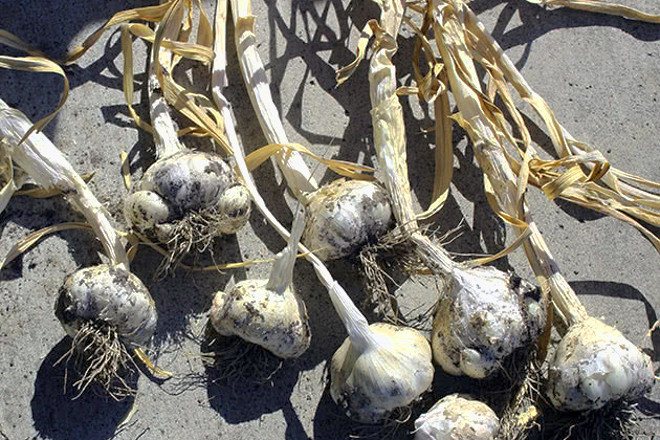
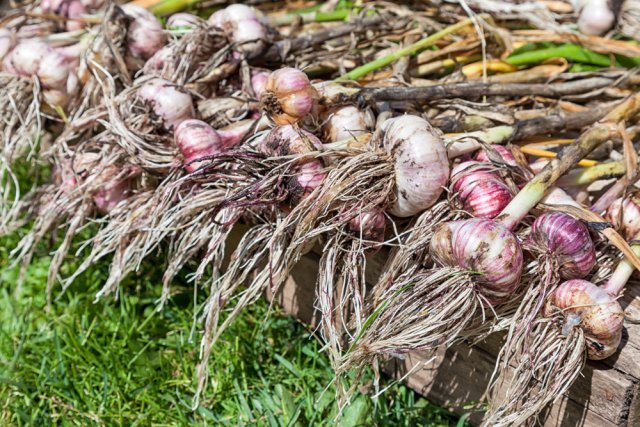
Drying
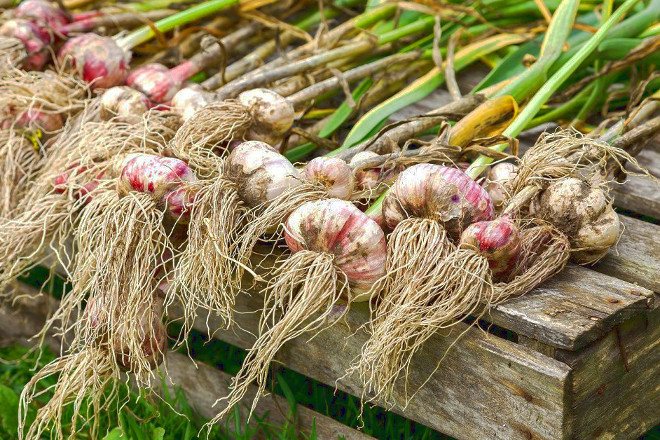
Before storing garlic, it must be dried along with the tops (leaves) for 3-5 days. If the weather does not predict rain, this can be done directly in the garden plot, in the open air. If rain is expected, then the crop must be dried in a well-ventilated area (in a utility room, barn, attic, under a veranda canopy, etc.).
You can determine that the garlic has completely dried by touch: its covering scales will become rustling and completely dry. And only then will it be possible to cut off the rhizome and stem, leaving approximately 2-3 mm of the first and a protruding neck-cut of the second no more than 10 cm long.
Note! When removing dirt from the top layer of garlic, remember that for its successful storage, at least 3 dense covering scales must remain on the head.
In the basement or cellar
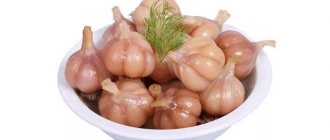
It is best to store winter varieties in a basement or cellar. These rooms provide the most suitable conditions. There are several proven options for storing winter garlic in a basement or cellar:
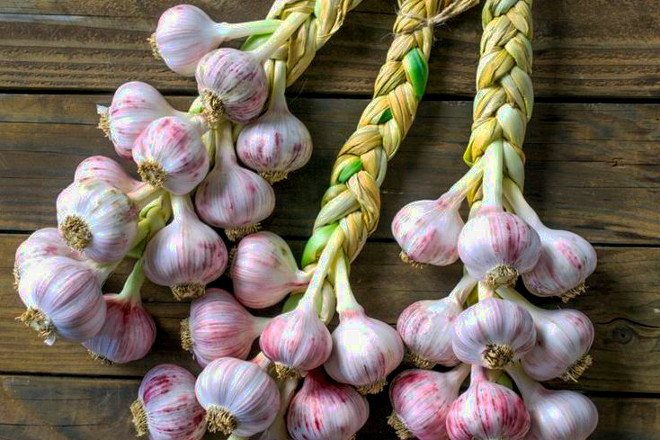
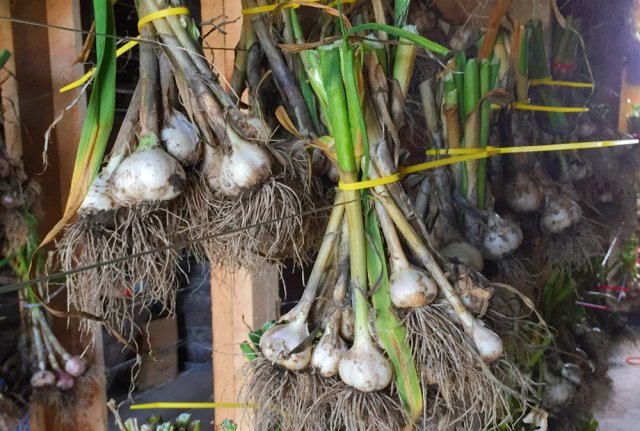
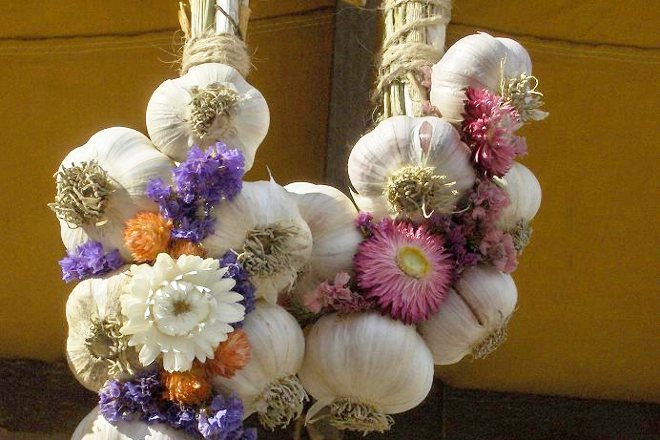
In pigtails
Garlic is woven (tied) into braids (15-20 heads each) using flexible wire or twine by the tails of the bulbs. Weaving a garlic braid should begin from the bottom, gradually tying subsequent bulbs.
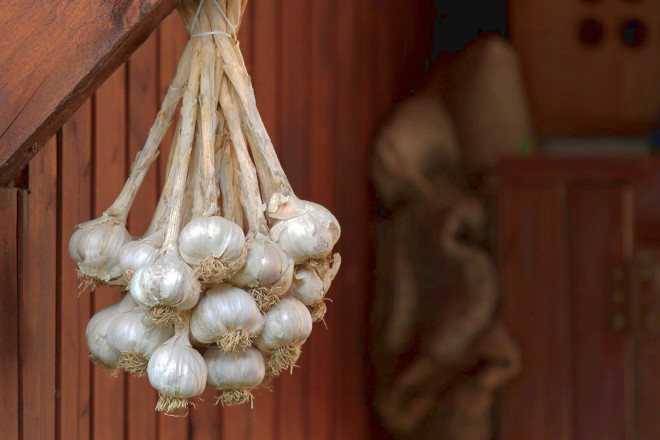
Bunches
Garlic heads can also be stored by tying them with rope into 1 bundle (5-10 heads depending on their size). Bunches and braids brought from the basement or cellar and hung in the kitchen before being used for food will serve as an excellent decorative solution in the kitchen interior.
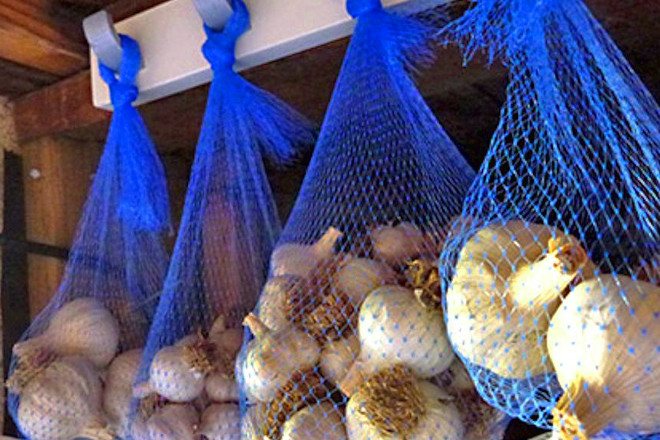
In nets or nylon stockings
An alternative to weaving bunches of garlic bulbs can be placing them in small nets or nylon stockings (no more than 25 heads in 1 net). Knitted braids, bundles or filled nets should be hung from the ceiling or against the wall, but only so that they never come into contact with the latter.
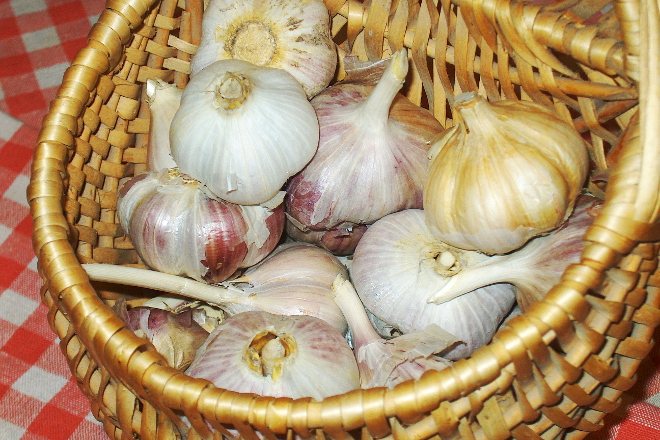
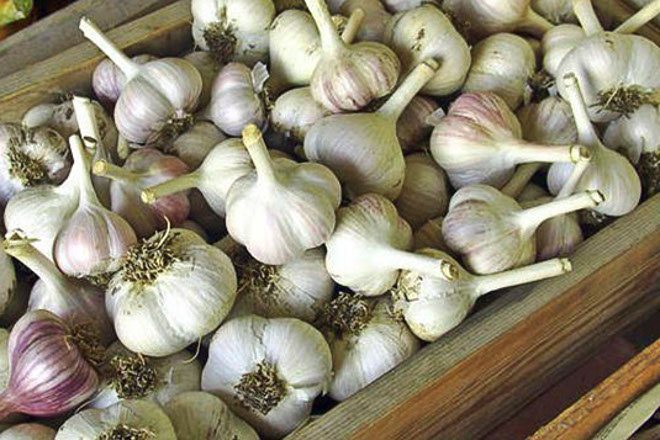
You can also place the garlic in a single layer in plastic or wooden boxes, cardboard boxes or shallow baskets. But it is not recommended to use metal containers, since condensation may form on their walls. When storing vegetables in a basket, plastic or wooden boxes, the bottom of the container can be covered with wine bottle peels, wood ash or sawdust, which have hygroscopic properties.
Before storing vegetables for long-term storage in a cellar or basement, make sure the following:
- the room temperature should not fall below 0°C so that the vegetable does not freeze, and rise above the permissible norm (+4°C) so that the bulbs do not germinate or begin to dry out;
- the room must be ventilated to ensure the required level of humidity (70-80%). Otherwise, if there is too much moisture, the garlic will rot, and if there is too little moisture, it will dry out;
- There is no fungus, mold or potential pests in the room.
How to select and preserve garlic for planting before winter
Telegram
VK
Viber
For fall planting, I always choose winter garlic. Only once, to satisfy curiosity, I conducted an experiment - I planted a spring plant before winter. Its yield turned out to be higher than that of the one planted in the spring, but it was still far from the winter harvest.
And in storage, the spring garlic that passed the test in winter did not show its best side, but this, in my opinion, is its most valuable quality. That's why I returned to the traditional option - planting winter garlic in the fall.
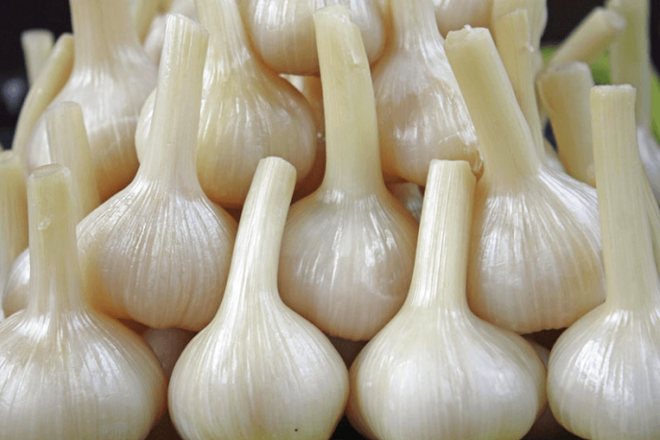
Winter and spring garlic: what’s the difference?
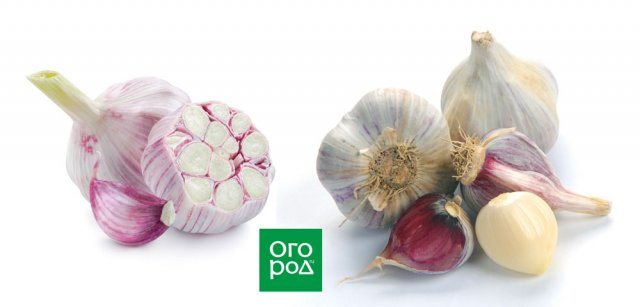
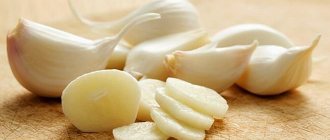
On the left in the photo is spring garlic, on the right is winter garlic
The head of winter garlic produces fewer cloves than spring garlic. Most often there are an even number of them - 2, 4, 6 or 8. They are located strictly around the stem. The teeth are large and look like twins. If you cut a “slice” of winter crop, you will see the zigzag of the future stem. A striking difference between winter garlic and spring garlic is the stem, which is noticeable if you take the head apart into cloves. It is absent in spring varieties.
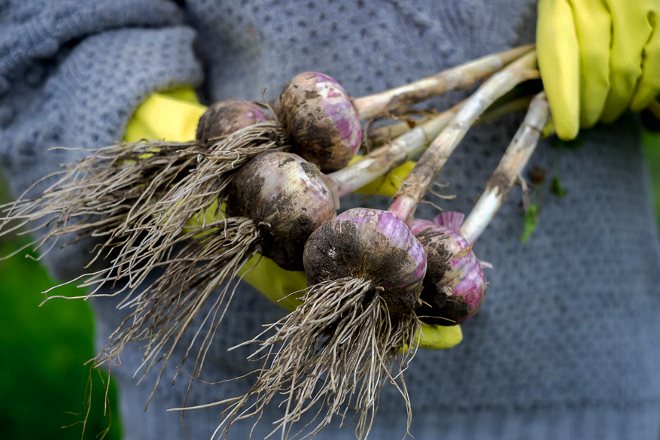
Harvesting garlic correctly
harvesting garlic
Planting material must be preserved from the end of July until the first half of October. To be sure of its quality, avoid incorrect actions already during the harvesting process. Mistakes made at this stage can affect both long-term storage of winter garlic until spring, and shorter-term storage - until planting in October.
- a week and a half before harvesting garlic, stop watering the beds;
- partially dig out the heads of garlic in advance so that they ripen;
- collect on a day when there is no rain;
- Do not pull the garlic out of the ground so that the stem does not remain in your hand and the head remains in the garden. Dig first, and not at an angle, so as not to damage the head. Use a pitchfork instead of a shovel;
- do not knock the heads of garlic on a pitchfork, fence or boot top, so as not to damage the cloves;
- Without cutting the roots and stems, place the heads of garlic in one layer in a wooden box and place the crop to dry under a shed or in a ventilated greenhouse for 5 days. Instead of a box, spunbond can be used as bedding material;
- set aside overripe garlic and damaged specimens for future culinary experiments;
- During storage, review the selected planting material - if you don’t like a particular head, set it aside.
How to preserve garlic before planting before winter
storing garlic
There are no special requirements for storing winter garlic for planting. The likelihood that it will grow two months before planting is small, so after drying for two days, put the champion heads in a dark barn, where they will wait until time “X”. Before this, cut the stems to 10 cm, and the roots to 5 cm. Do not scorch the roots - scorching is not suitable for planting.
What to do before planting garlic
Winter garlic differs from spring garlic in its hot, rich taste and more persistent aroma. And, no less important, if the spring variety is striking in the number of cloves, then the winter variety is striking in its size. Having disassembled the head into cloves, select the largest of them for planting. A large clove will produce a large head in the future!
Disassemble the head of garlic into cloves immediately before planting.
Planting winter garlic bulbs
garlic seeds
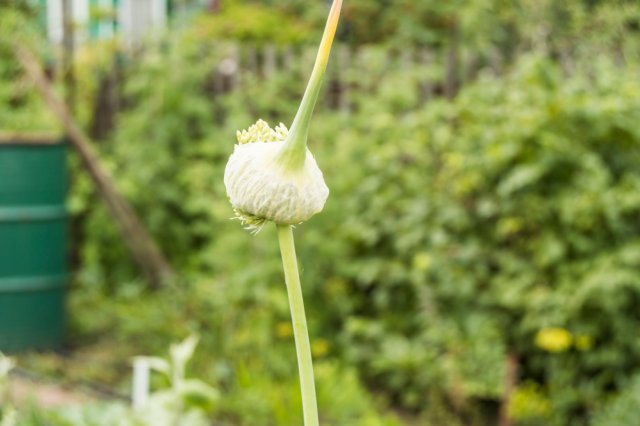
In addition to planting winter garlic directly with cloves, there is another way - with seeds. Winter garlic, unlike spring garlic, bolts. Usually these arrows break off, but what happens if several flower stalks are allowed to grow? At their ends, inflorescences with aerial bulbs inside are formed. Aerial bulbs are a kind of garlic seed. They do not require disinfection or pre-soaking.
- When planted with cloves, garlic gradually degenerates. Aerial bulbs renew the variety.
- All diseases to which garlic heads are susceptible are not transmitted through its seeds.
- Propagation by seeds is more economical.
Single clove garlic is not a separate variety, but an intermediate planting material grown from seeds.
The next year after planting the seeds, the one-toothed one grows. She is small, the size of a pea. The one-tooth must be planted again in the fall and then the next year the tooth will grow - it’s the same one-tooth, but only larger. After the next planting next summer you will get a full head. That is, before the garlic harvest, you will have one clove of the first and second year.
Garlic grown from single cloves does not get sick for the next few years.
How to collect garlic bulbs
To prevent the seeds from spilling out onto the ground (self-seeding does not occur), collect the aerial bulbs when the inflorescence is formed and is just beginning to crack. Cut off the heads of the inflorescences along with part of the stem: the remaining nutrients in it will go into the seeds during storage. Keep in a dry, well-ventilated place in a canvas bag. To better preserve the seeds, select them from the inflorescences a few days before planting. Sort, leaving the largest ones for planting.
Garlic seeds remain viable for up to two years.
When starting to plant garlic, remember that the previous residents of the garden bed had to vacate it at the end of July. And it didn't have to be onions, cucumbers or carrots. Don’t be late with planting, but don’t plant too early either - the teeth that begin to grow before winter are not resistant to the vicissitudes of the weather.
In the apartment
If at least one of the above conditions cannot be met, it is preferable to save the harvest in the apartment. How to store winter garlic at home in an apartment? Elementarily, the same braids, bunches or nets with garlic can be hung on a glazed loggia or balcony.
Small quantities of vegetables can be placed in the refrigerator in pasteurized (sterile) jars with tightly closed lids. Such storage of winter garlic in the refrigerator will prolong its fresh use, although with a certain degree of loss of aroma and taste of the vegetable.
Directly in the apartment itself, garlic can be stored in the pantry or kitchen using the following popularly proven methods:
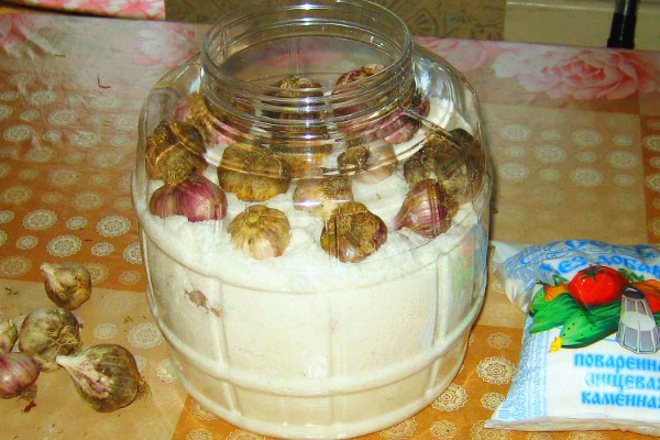
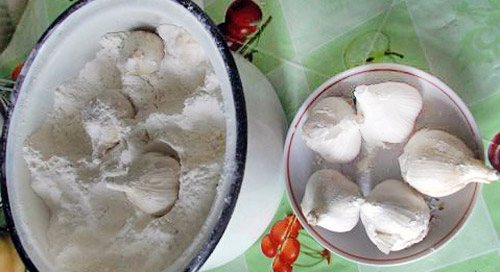
In salt or flour
An alternative method for storing winter garlic (in small quantities) at home without a refrigerator is to immerse the heads in a glass jar or ceramic bowl with salt or flour. To be on the safe side, jars can be pre-sterilized.
In the ash
You can also place the garlic in layers in a cardboard box with wood ash, sprinkling it over each layer.
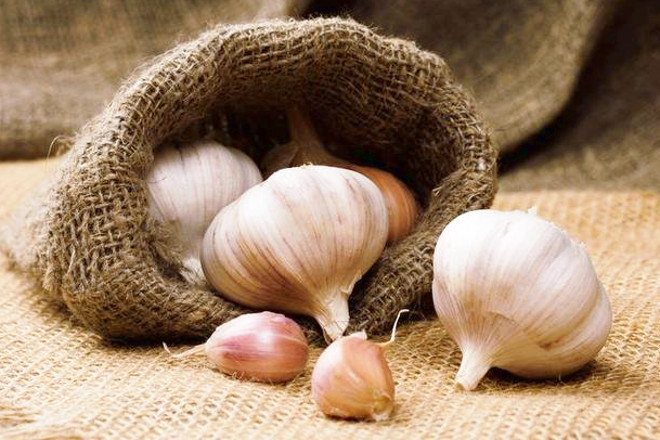
In fabric bags
Winter garlic is stored quite well in a hanging linen (fabric) bag, sprinkled with onion peels or dry nettle leaves. It is advisable to pre-treat the bag with saline solution and dry thoroughly.
In paraffin or cling film
You can wrap each garlic head separately in cling film (2 layers) or dip it in a container with melted paraffin. Onions “laminated” in this way will not lose moisture.
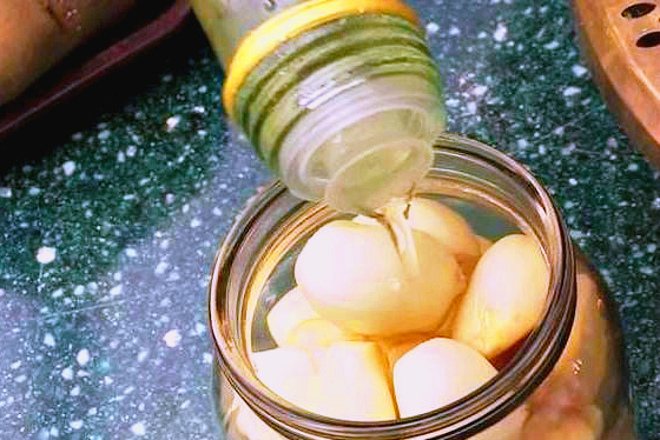
In vegetable oil
There is also a way to store already peeled cloves: they are placed in a glass jar and then filled with vegetable oil. The jar must be closed with a plastic lid with small holes for air circulation. This method will not only preserve the vegetable, but also get healthy garlic oil.
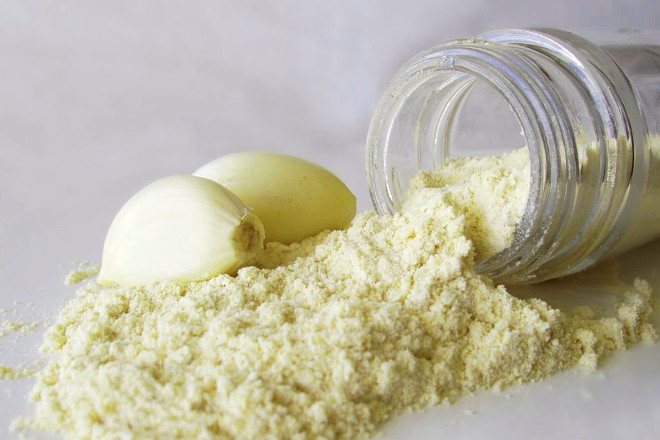
Shredded
Already dried cloves can be ground into powder using a coffee grinder and mixed in equal parts with salt. This mixture can later be used as a seasoning.
Unusual storage methods
Garlic is stored in different ways. But even experienced housewives have no idea about some of them. So, a vegetable:
- Sprinkle with flour . To do this, take a jar with a volume of 3 liters, pour about 100 g of flour onto its bottom and place slightly burnt heads of garlic on top of it in one layer. Flour is poured over it again. And they continue to do this until the jar is filled to the brim. There is no need to cover it with a lid; the top layer of garlic is also sprinkled with flour.
- Stored in paraffin . Paraffin is melted in a water bath. To do this, pour water into a large saucepan and bring it to a boil. Paraffin, cut into small pieces, is placed in a smaller container. A small saucepan is placed in a large one. As soon as the paraffin melts and becomes liquid, the garlic is lowered into it, roots down. There is no need to completely immerse, just lower the roots for about 1-2 seconds. After this, the vegetable is placed in a box with sawdust. After this treatment, it is stored longer than usual.
- In vegetable oil . The garlic heads are washed, then dried for several hours on a paper towel and placed in a jar. A container filled with vegetables is filled with sunflower oil.
- In cling film . Dry and clean heads are wrapped in two layers of cling film and stored in this form in a room, refrigerator, or basement.
- In the ground . Dried garlic is placed in a plastic bag, preferably a vacuum one, after which I bury it in the ground to a depth of about 35-50 cm right on the site. It is important to take into account the proximity of groundwater. The top of the bag is sprinkled with sawdust and stored in this form until spring. This storage method is suitable for garlic, which is planned to be planted in the garden in the spring.
There are many options for harvesting and storing garlic. This is a universal crop, without which not a single spicy dish can do, so it is important to know how to stock up on it for the winter without loss. Store vegetables in the basement, on the balcony, in the refrigerator, in cool and dark places, even in jars. To extend the shelf life, use salt, flour, sunflower oil, and sawdust. You also need to dig up garlic correctly; untimely digging shortens the shelf life several times.
Storage problems
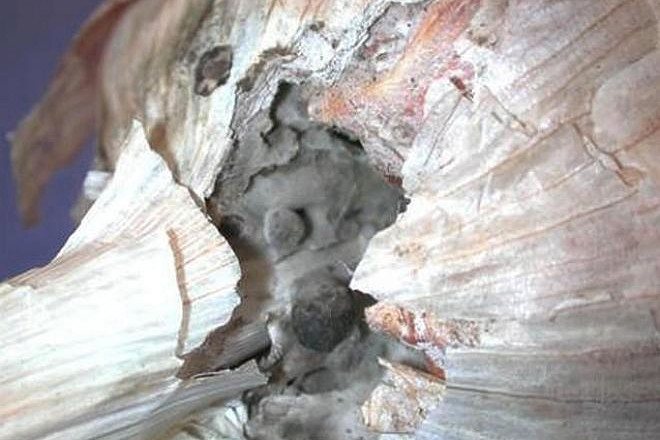
Storing winter garlic at home for the winter is aggravated by the fact that these varieties are more often susceptible to disease and rot than spring varieties. Typically, winter garlic is exposed to pathogens, fungi, pathogenic bacteria or pests when stored in cellars and basements.
The most common disease of this vegetable is neck rot. Its signs: the teeth become soft, watery, turn yellow or mummify. Also, the vegetable is often affected by mold of different colors - gray, green, black, which tends to very quickly spread by spores to healthy heads.
How long does garlic last?
| Storage conditions | Winter | Spring | Shelf life |
| Humidity | 70-80% | 50-70% | 3-4 months |
| Temperature | from +2 to +4°C | +16 to +20 °C | Until spring, until the next harvest |
Winter varieties, even under optimal conditions, are stored for no more than 3-4 months. Therefore, you should not rack your brains over the question of how to preserve winter garlic until spring at home. It is better, if possible, to avoid long-term winter storage. It is preferable to stock up on spring varieties for the winter. Longer storage of winter garlic until spring is justified only if the harvest was so large that it could not be eaten fresh or processed in the process of preparing food and supplies for the winter.
Planting garlic in spring: ways to plant garlic
Planting garlic in spring: ways to plant garlic. Garlic is one of the popular agricultural crops that is grown in gardens and on an industrial scale. It is very healthy and has specific taste qualities. The vegetable is eaten as a seasoning. Pairs perfectly with meat and vegetable dishes. Anyone who didn’t like to eat a piece of bread with garlic and salt as a child does not know the real beauty of the aftertaste. Systematic consumption of vegetables helps improve immunity and cleanse blood vessels. Therefore, planting garlic is not just a habitual activity, but a health prospect for the entire autumn-winter period.
Interesting: Can You Store Hard Cheese in the Freezer?
Useful tips
- It is not enough to know how to store winter garlic. Once a month, it is imperative to check the condition of vegetables left for long-term storage in a cellar or basement. Rotten and spoiled bulbs, as well as the suspicious heads adjacent to them, should be removed so that the entire harvest does not spoil.
- In an apartment, it is not recommended to store winter garlic near heating devices to avoid drying out.
Winter varieties of garlic are popular among gardeners due to their high yield and early ripening. Unlike spring varieties, they are not stored for a very long time (no more than 3-4 months) and are more demanding on storage conditions. But with a large harvest, it’s still worth knowing how to preserve winter garlic at home until spring.
Choosing a variety for planting
The main difference between spring and winter varieties of garlic is the formation of a peduncle, a “arrow” on which the bulbs ripen. Spring varieties do not have a peduncle; they reproduce only by cloves. Winter crops have a peduncle; they reproduce both by cloves and by bulblets formed in the peduncle. Hence, winter varieties are called bolting garlic, and spring varieties are called non-shooting types of garlic.
Interesting: How to Freeze Horseradish With Tomatoes for the Winter
In addition, spring and winter varieties are divided into table and industrial varieties. Table fruits include those fruits that contain a lot of pungent taste, essential oil and bitterness. These are also large varieties with large heads. Technical garlic includes garlic with a less pronounced burning taste and small, small cloves.
Note: almost all varieties of spring garlic are semi-sharp, technical. And all varieties of winter garlic are table varieties.
Various spring and winter varieties differ in their growing season. It can be 90 days (this is the minimum period for the formation of the head), for later ones - 125 days.
Another difference between spring varieties and winter varieties is that more garlic cloves form in their heads. If a head of winter garlic has 6-8 cloves, then a head of spring garlic will have 12-15 or 20 smaller cloves.
Here are the names of the most popular non-shooting spring varieties of garlic:
- Abrek – 15 lobes per head, ripens within 90-100 days. Head weight 30 g.
- Medicine - 10 lobes per head, ripens in 90-100 days, head weight - up to 40 g.
- Moscow - produces up to 15 cloves in the head, forms a harvest for 100-110 days. Head weight – 15-20 g.
- Victorio - up to 15 cloves, formed in 100-110 days, head weight 40-45 g.
- Demidovsky - 16 cloves, head up to 50 g, terms - up to 110 days.
- Permyak - 17 cloves, head weight up to 35 g, terms - up to 110 days.
- Degtyarsky - up to 18 cloves in a small onion, formed in 100-110 days. Bulb weight 35-40 g.
- Uralets - up to 20 cloves, head up to 35 g, terms - up to 110 days.
- Sochinsky - produces 30 cloves and forms especially large heads weighing up to 50 g. Formation time is 100-110 days.
- Saki - forms a head of 12-14 cloves, matures in 110-120 days. Bulb size – up to 20 g.
- Ukrainian white Gulyai-Polye (after the name of the settlement - Gulyai-Polye) - forms more than 10 cloves in the head, matures up to 120 days. Bulb size – up to 25 g.
- Alleysky - up to 18 cloves, with a ripening period of 120-125 days, bulb weight - up to 25 g.
And one more feature: spring garlic ripens longer than winter garlic - by 3-4 weeks. Therefore, in the northern regions it is recommended to grow only fast-growing varieties, for example, Lekar and Abrek. In central Russia there is a larger choice of varieties - Moskovsky, Degtyarsky, Permyak, Uralets, Demidovsky, Victorio. In the southern regions, varieties of different ripening periods can be grown, especially late varieties of garlic - Saki, Ukrainian. Now let’s talk in detail about how to plant winter garlic in the spring.